.jpg)
Do not index
Logo

Product name
Gumroad
Added to /integrations
Not added
Category
Ecommerce
Newsletters
Online Creators
Gumroad is a powerful, but simple, e-commerce platform. They make it easy to earn your first dollar online by selling digital products, memberships, and more.
Now that your Gumroad listing or shop is ready, you may be wondering how to improve your conversion rate and that’s by showcasing testimonials.
This article will show you how to add or collect testimonials on Gumroad.
What is Testimonial.to?
Testimonial effortlessly lets you collect customer reviews and display them on Gumroad with customized, interactive, and beautiful review widget features.
We make it easy to capture, manage, and broadcast testimonials to improve the reputation of your brand or service and help you convert better.
What’s more? With testimonial.to, integrating your reviews on your website only requires adding a single line of code onto your site. You don't need any specialist tools or developers — just copy and paste!
Our Audible Integration
- Add testimonials as your cover on Gumroad
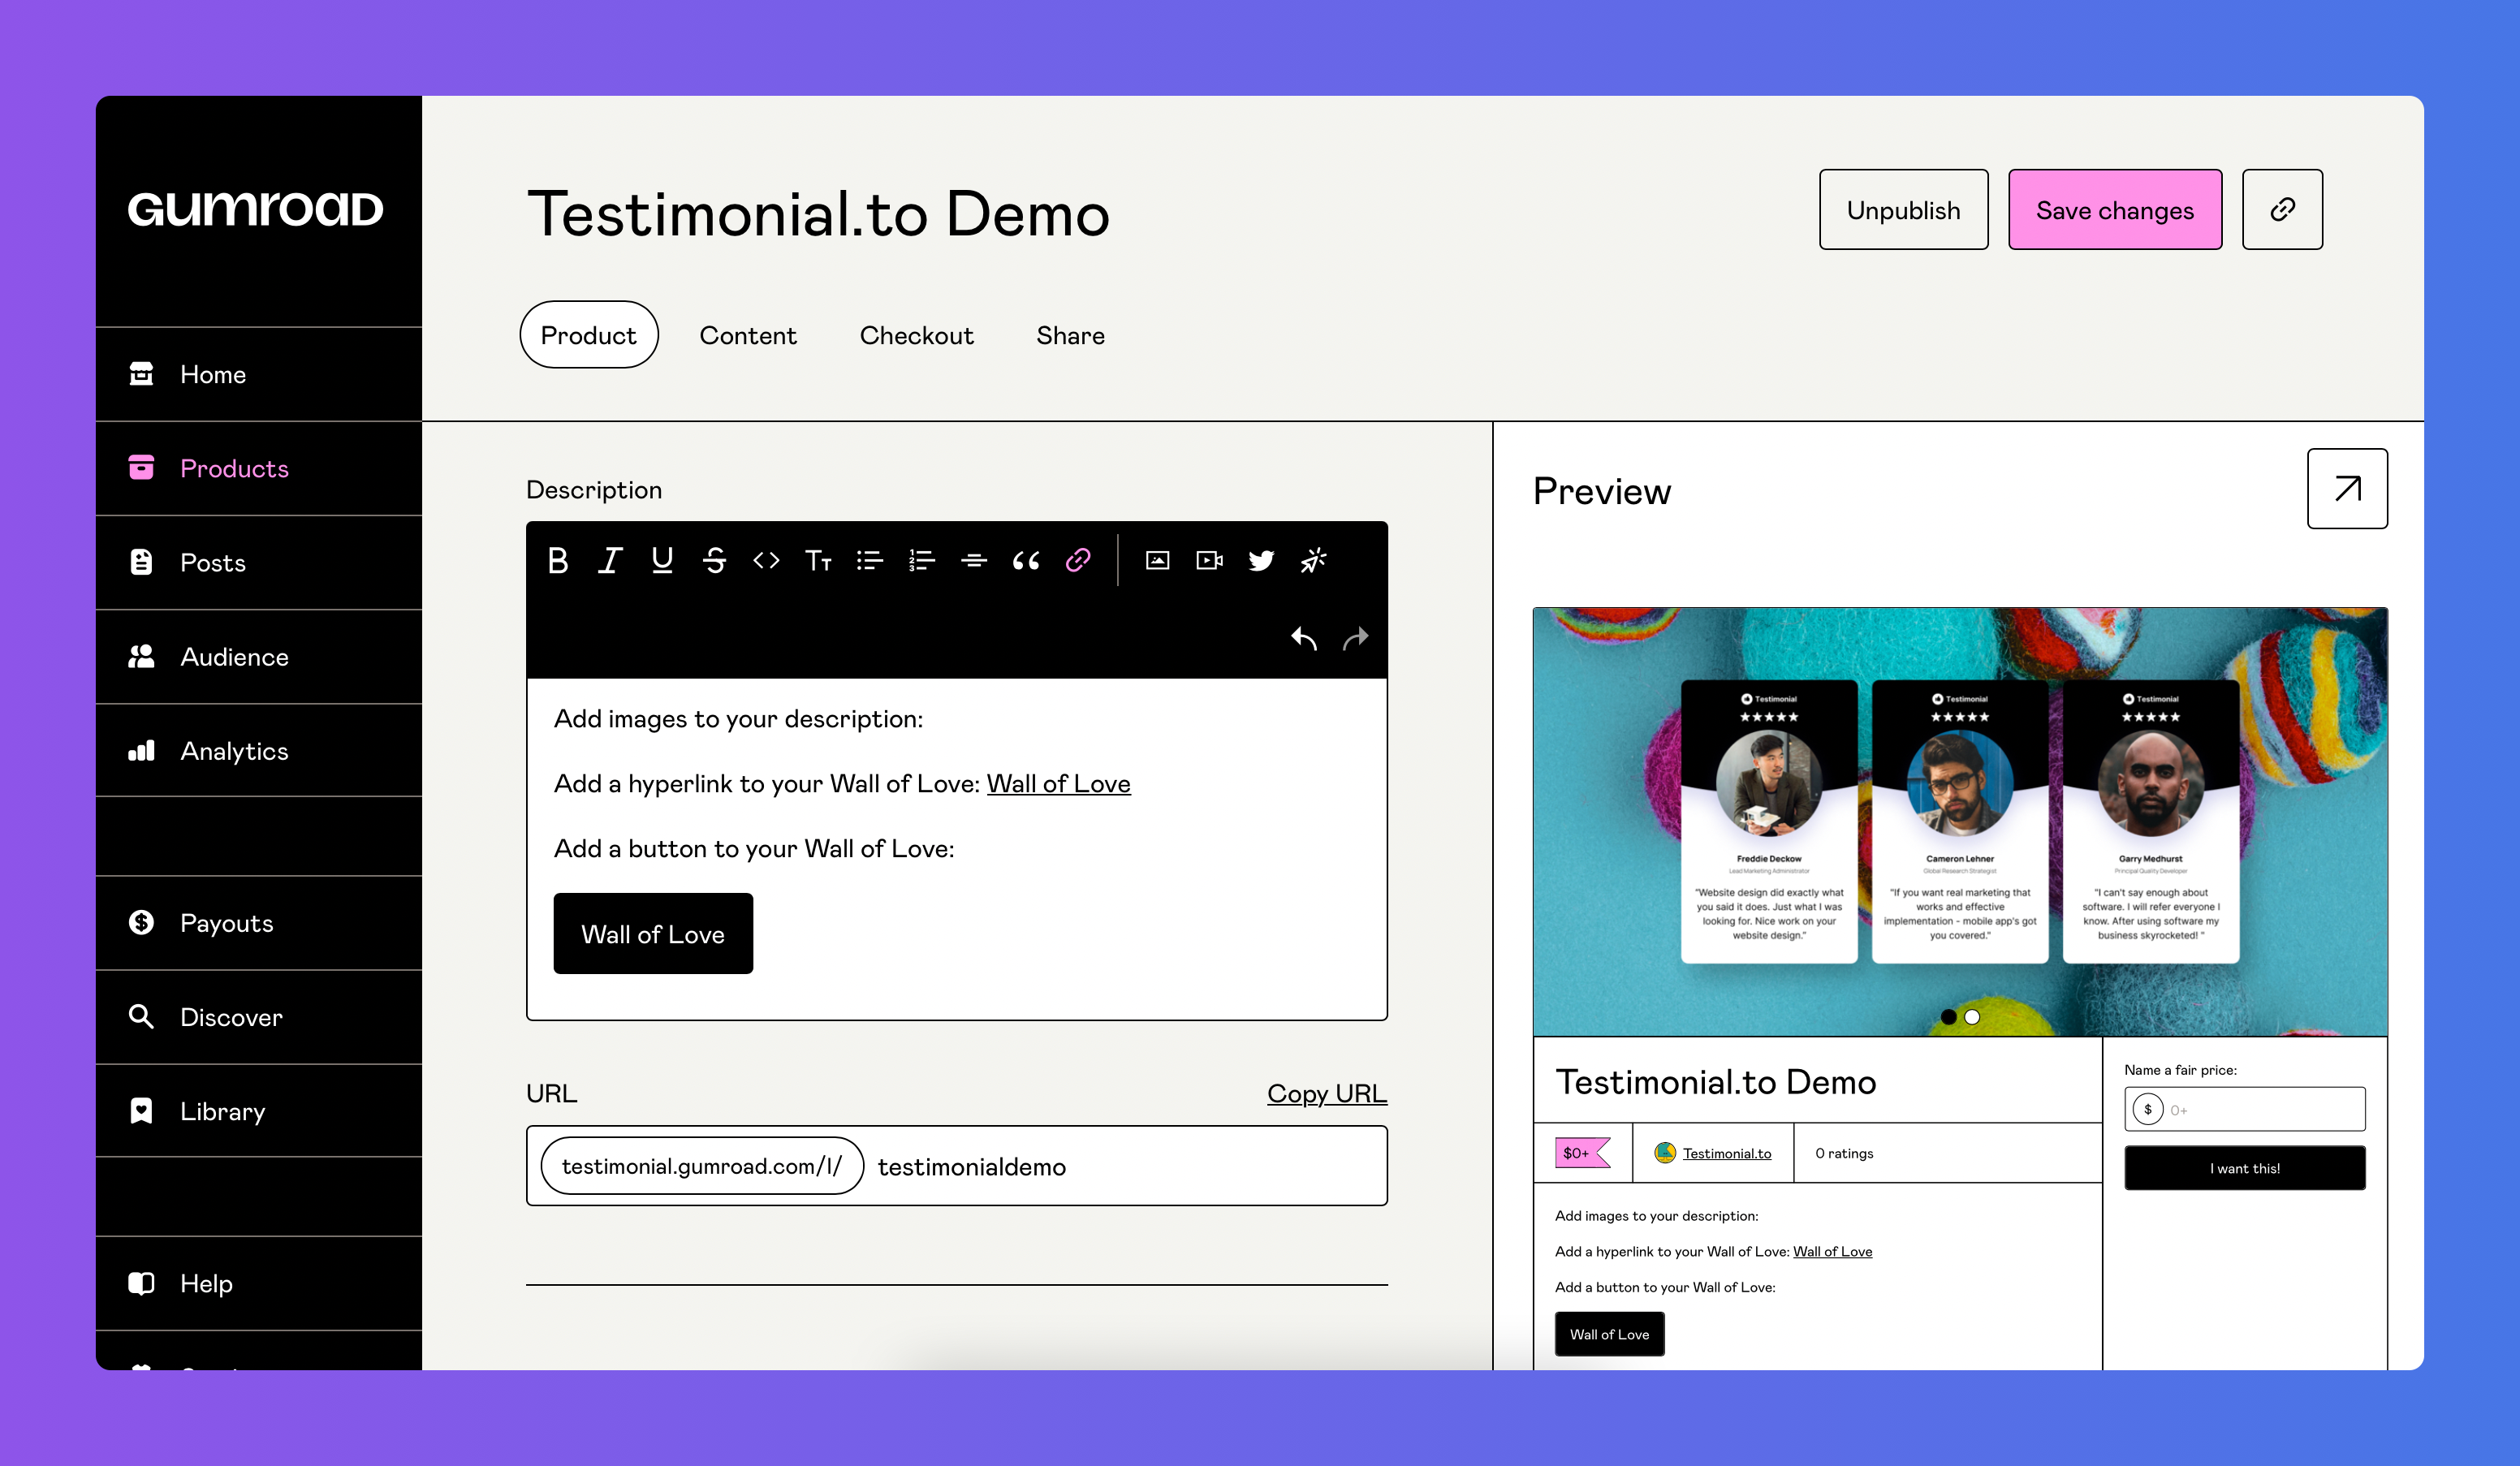
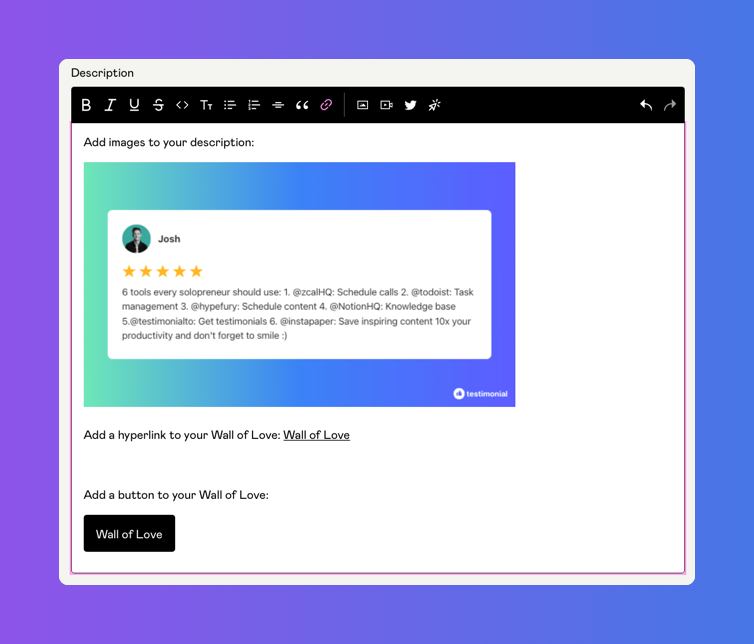
- Add testimonials within your product description
- Link to your Wall of Love (Link or button)
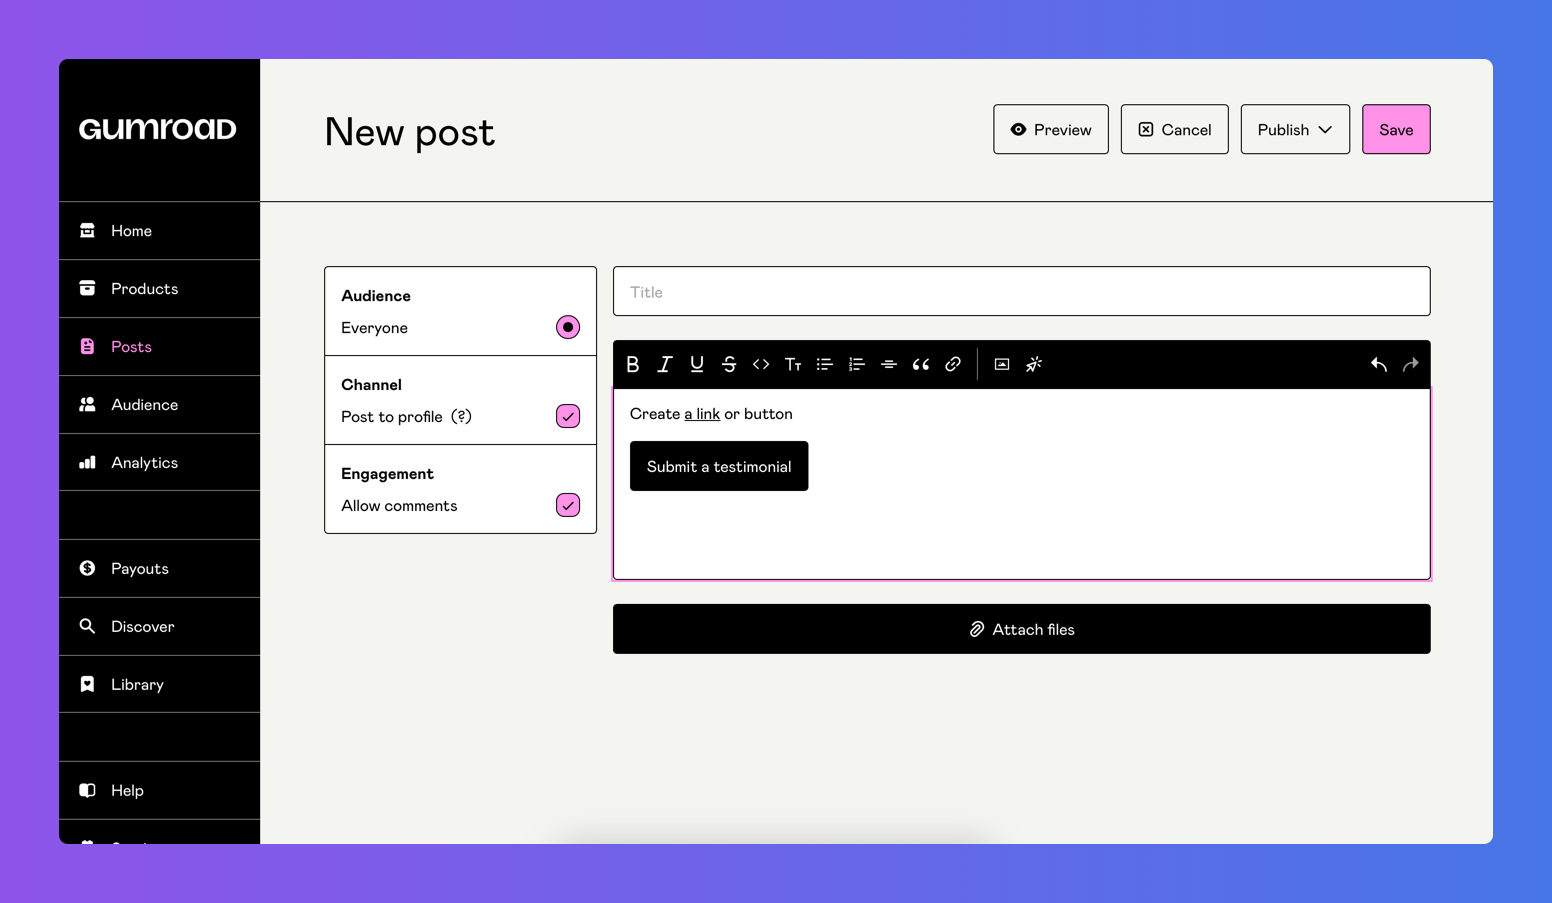
- Link your page to collect testimonials (Gumroad posts)
- Create a Wall of Love or testimonial page (ex: /wall-of-love)
TL;DR
- Create an account on Testimonial and import your reviews
- Generate an image for your testimonials
- Upload your testimonials to Gumroad
Voila! Your Gumroad listing is now ready to convert better with social proof 💪
Display Your Testimonials on Gumroad
Before being able to display testimonials on Gumroad, you need to gather them in one place.
1. Import your reviews and testimonials to Testimonial.to
Start your free trial for Testimonial.to and create a new space. To learn more about all the settings and features below, you can visit the Get started collection in our help center.
Step 1. After registering, visit the dashboard and click on + Create a new space.
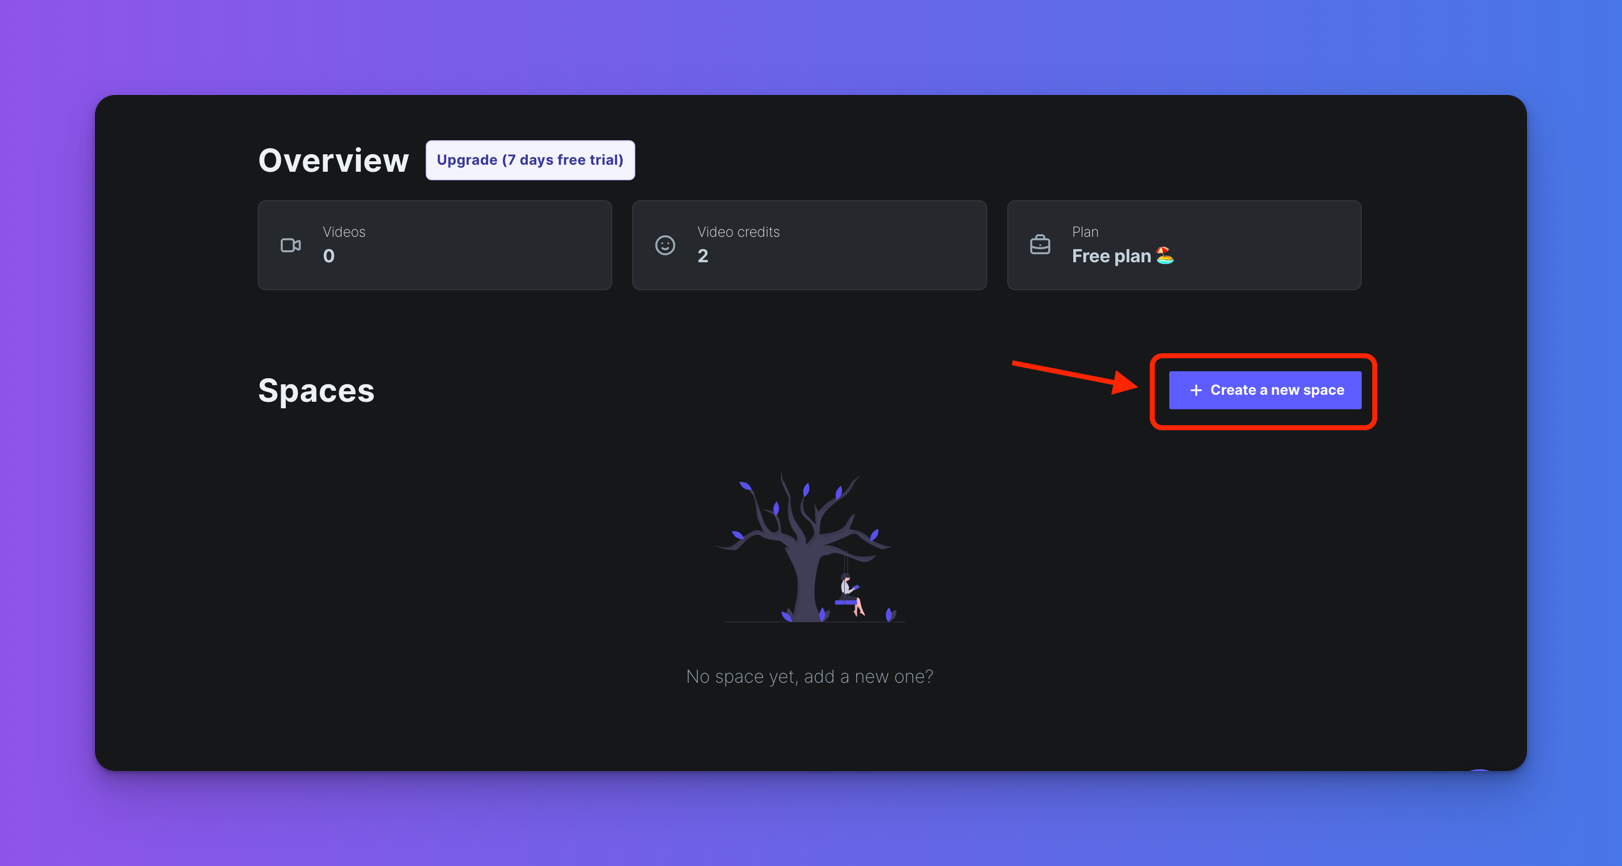
Step 2. After clicking, you will see the Create a new space popup modal.

Step 3. Now that your space is ready, click on ‘Options’ followed by ‘Add a text’.
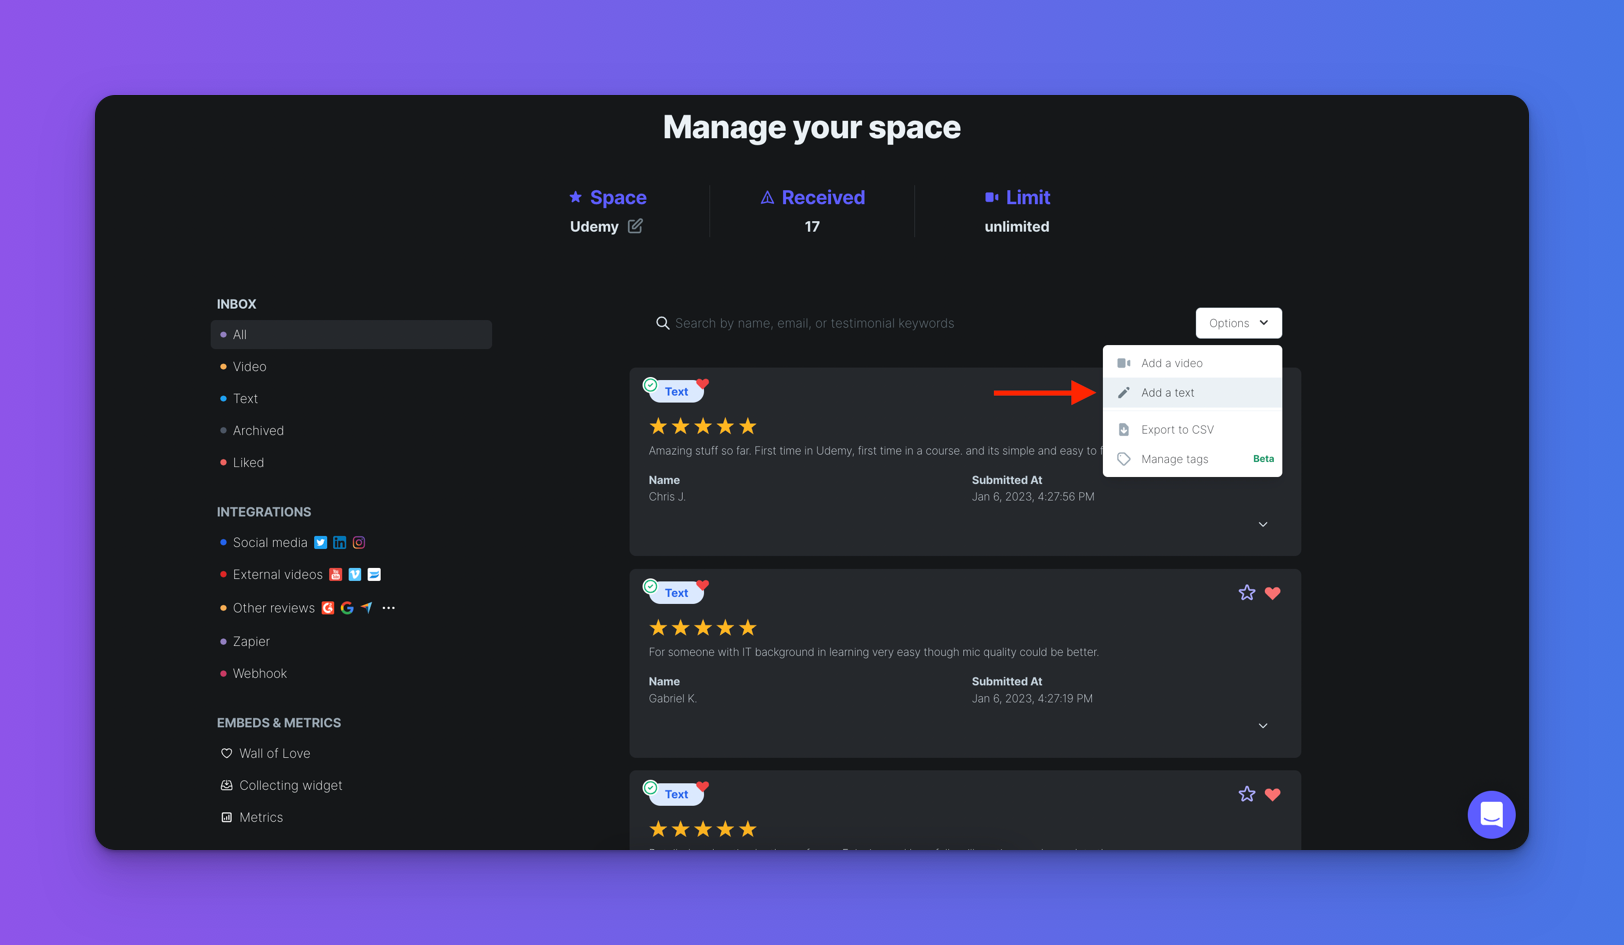
Step 4. Within that popup, add the information of your testimonial, and voila! 💪

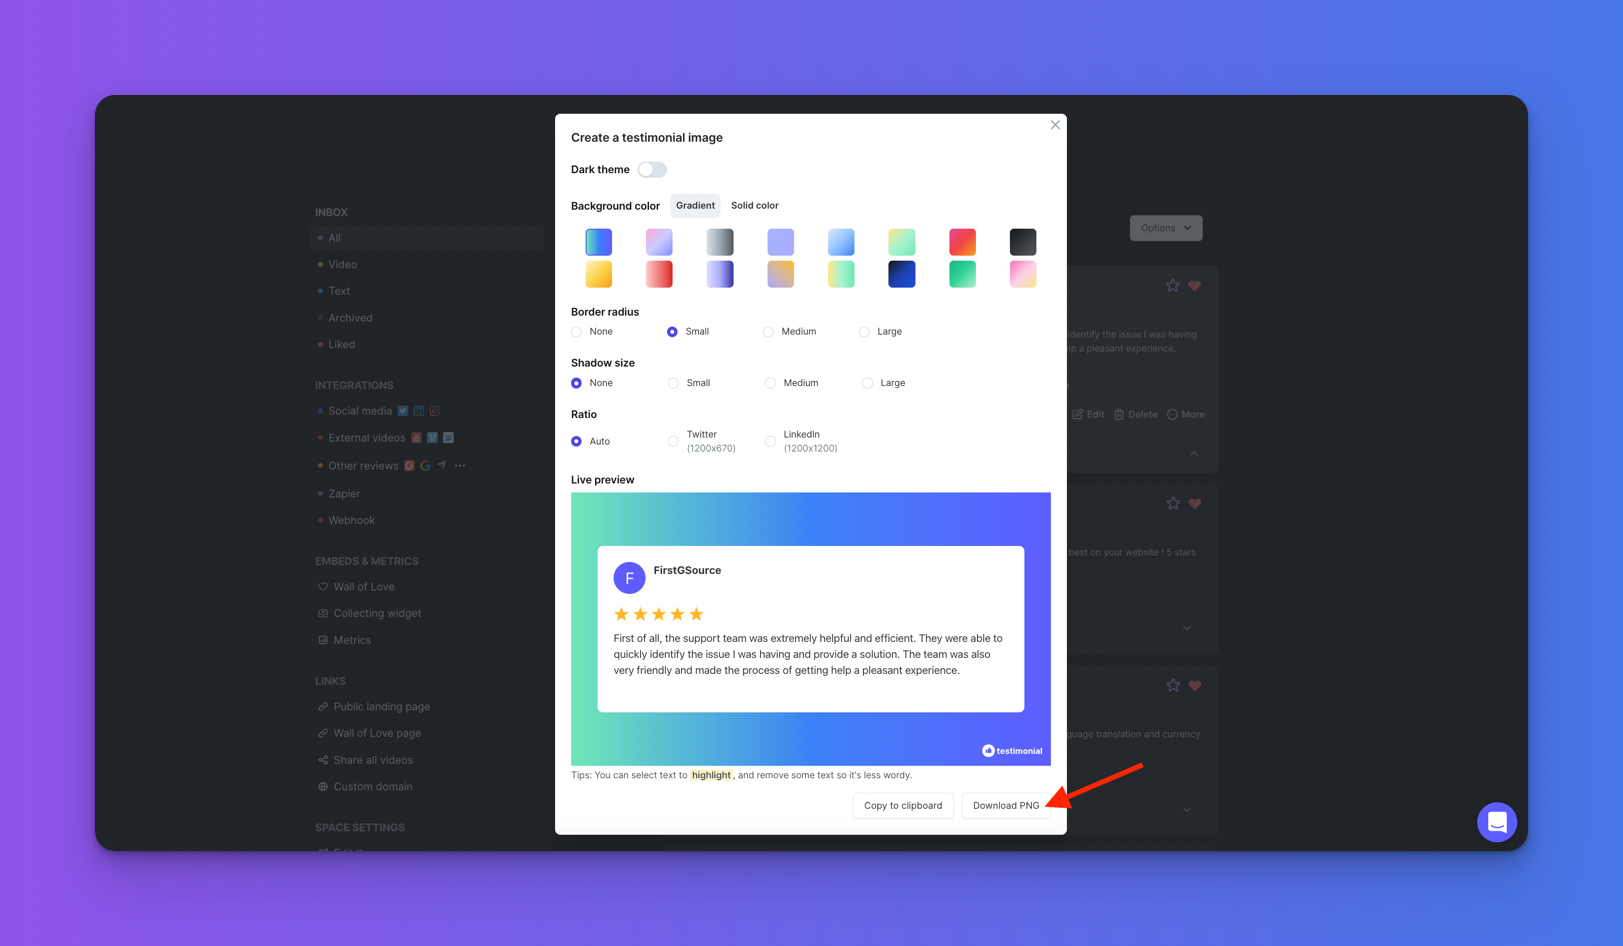
2. Generate an image for your testimonials
Step 1. Within a testimonial, click on ‘More’ followed by ‘create an image’.
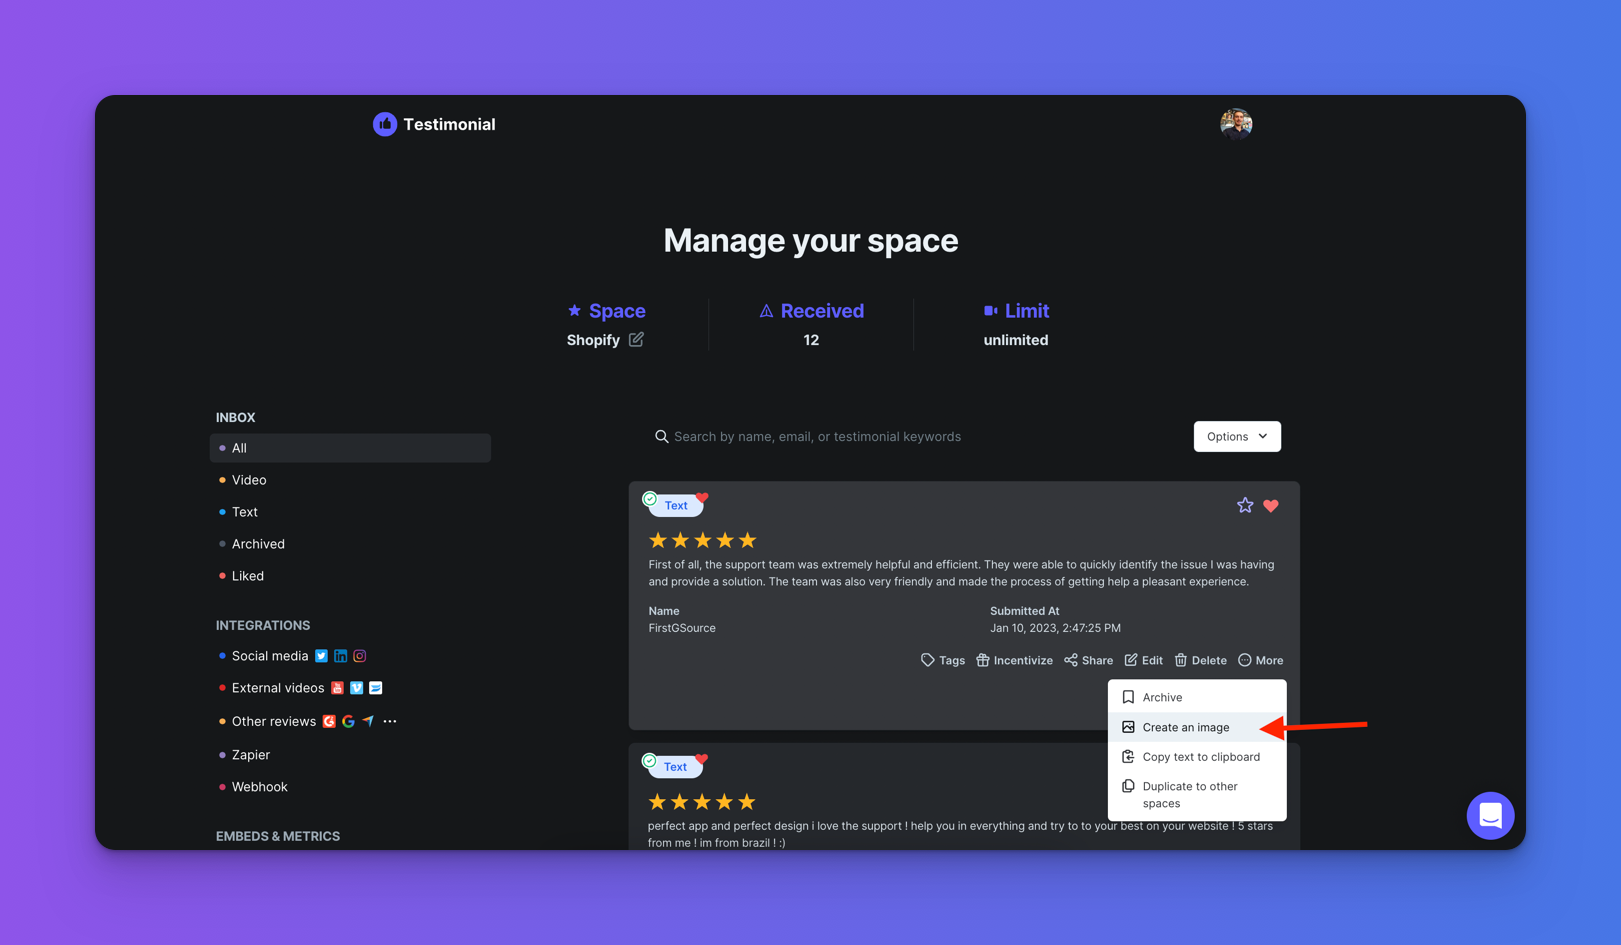
Step 2. Customize the image to your liking and click on ‘download PNG’.
Step 3. Go back to Gumroad and upload the downloaded PNG.
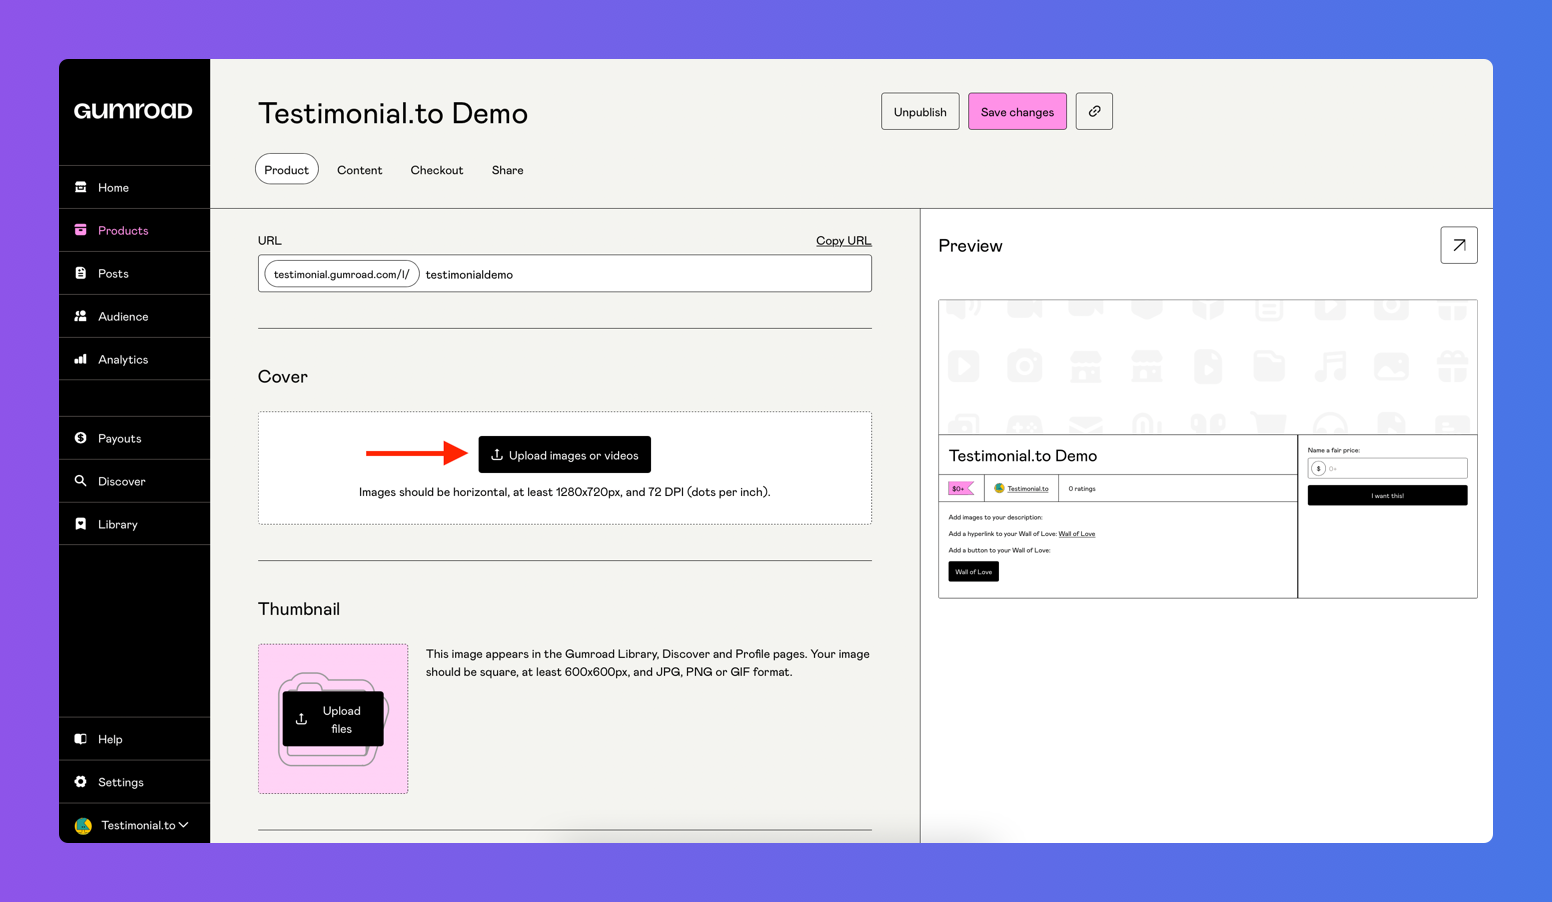
Step 4. That’s it! Your testimonial(s) will appear on Gumroad 💪

Additional tips
Tip #1: You can also link to your Wall of Love or even your testimonial request page by using the link or button feature.
Tip #2: We created a Figma file with 13 Gumroad Testimonial templates for you ✌️
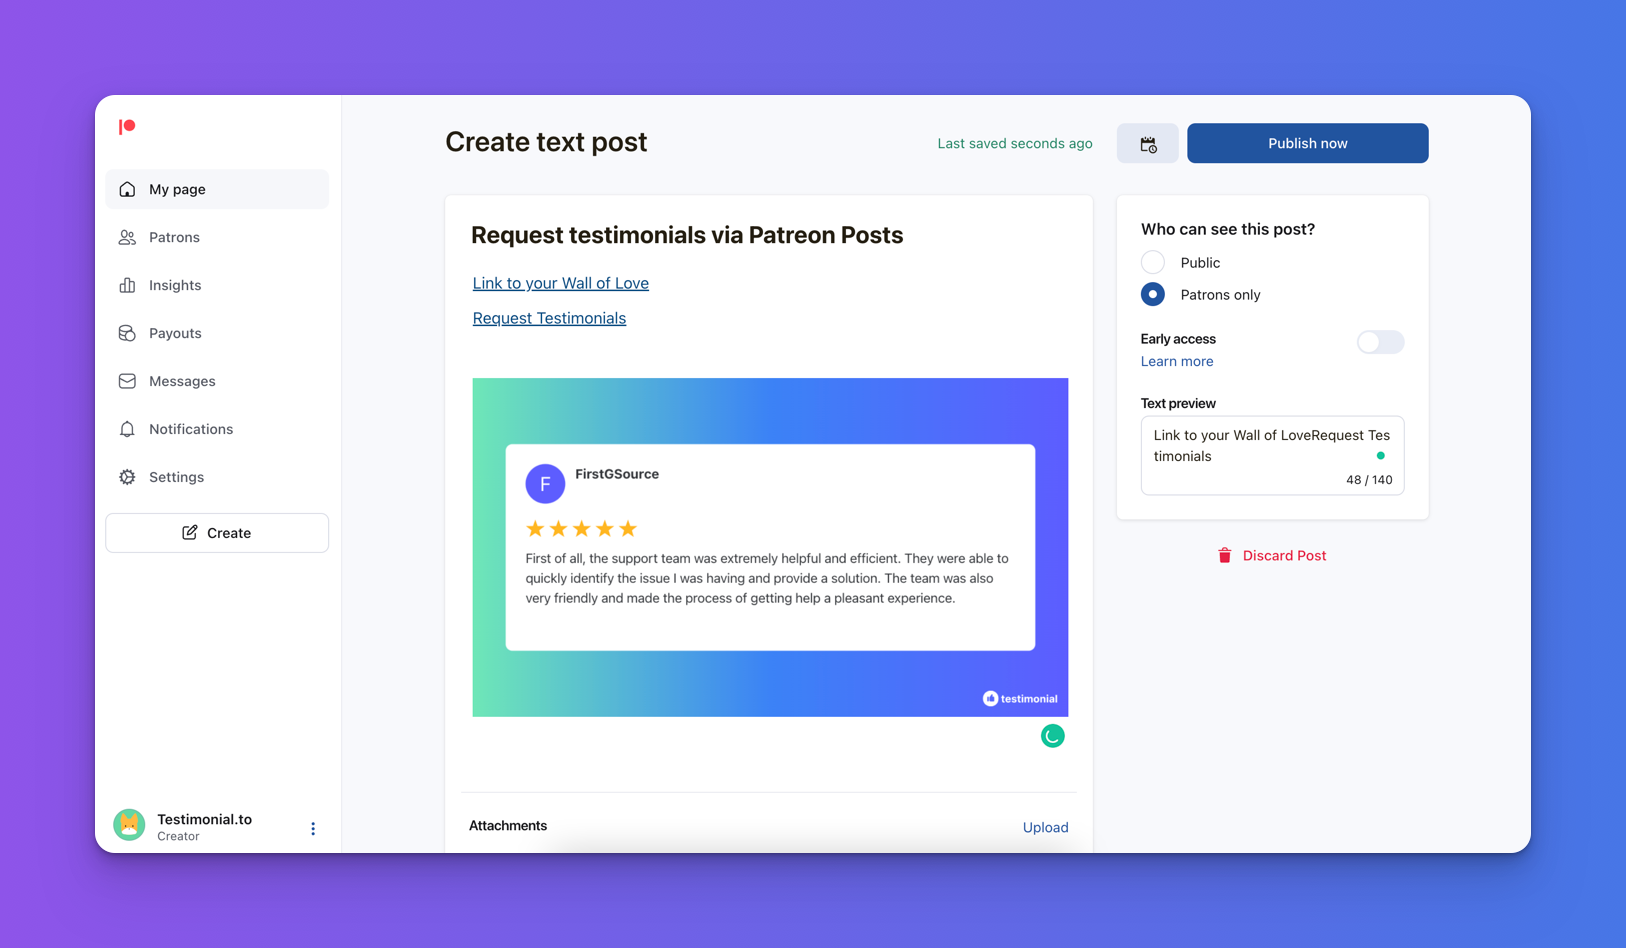
Tip #3: After having customers, you can reach out to them and ask for a testimonial by using the ‘Posts’ feature within Gumroad.
Tip #4 Before you go, we should mention that you can automate your testimonial process with our Zapier + Gumroad integration! You can learn more about it here.

Voila! With Testimonial.to, you can add video & text testimonials, Twitter tweets, etc., all in one place. 🥳
